
Deployment Microservice Kere Hore Bagian 3
14 Feb 2018Pada artikel yang lalu, kita sudah membahas tentang penggunaan Nginx sebagai Front Proxy, dan memasang aplikasi Java di belakang proxy tersebut. Kali ini kita akan memasang aplikasi PHP langsung di Nginx. Agar tidak membuang waktu membuat aplikasi, kita akan gunakan aplikasi yang sudah ada dan banyak digunakan orang, yaitu Wordpress. Aplikasi ini bisa diunduh di websitenya secara gratis. Petunjuk instalasi juga sudah disediakan di dokumentasinya. Tinggal kita ikuti saja.
Persiapan Server
Wordpress berjalan di atas PHP, sehingga kita perlu install PHP dulu. Kita gunakan versi 7.
apt install php-fpm php-mysql php-curl php-gd php-mbstring php-mcrypt php-xml php-xmlrpc
Kemudian, ada setting yang harus kita disable supaya lebih secure. Edit file /etc/php/7.0/fpm/php.ini dan disable cgi.fix_pathinfo
cgi.fix_pathinfo=0
Setelah itu, restart PHP.
service php7.0-fpm restart
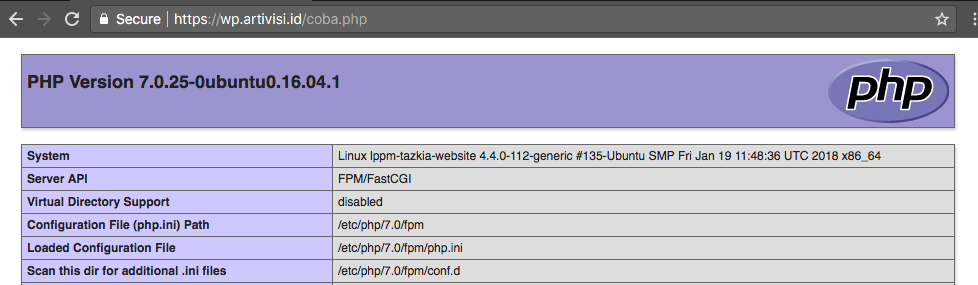
Kita perlu memberi tahu Nginx agar memproses file PHP. Tanpa konfigurasi ini, begitu kita akses file PHP, misalnya https://wp.artivisi.id/coba.php maka file tersebut akan ter-unduh, bukannya dijalankan. Sebagai contoh, kita buat dulu file coba.php berisi sebagai berikut
<?php
phpinfo();
Simpan file tersebut di /var/www/wp.artivisi.id/html.
Bila kita akses di alamat https://wp.artivisi.id/coba.php, file tersebut akan ter-unduh seperti kita unduh file zip. Supaya diproses oleh Nginx, tambahkan konfigurasi berikut
location ~ \.php$ {
    include snippets/fastcgi-php.conf;
    fastcgi_pass unix:/run/php/php7.0-fpm.sock;
}
Sehingga lengkapnya menjadi seperti ini
server {
    server_name wp.artivisi.id;
    listen 443 ssl http2;
    listen [::]:443 ssl http2;

    ssl_certificate /etc/letsencrypt/live/wp.artivisi.id/fullchain.pem;
    ssl_certificate_key /etc/letsencrypt/live/wp.artivisi.id/privkey.pem;
    ssl_dhparam /etc/letsencrypt/ssl-dhparams.pem;

    root /var/www/wp.artivisi.id/html;
    index index.php index.html;

    location / {
      try_files $uri $uri/ =404;
    }

    location ~ \.php$ {
        include snippets/fastcgi-php.conf;
        fastcgi_pass unix:/run/php/php7.0-fpm.sock;
    }
}
server {
    if ($host = wp.artivisi.id) {
        return 301 https://$host$request_uri;
    }

  listen 80;
  listen [::]:80;

  server_name wp.artivisi.id;
  return 404;
}
Reload Nginx
service nginx reload
Dan harusnya kita sudah bisa menjalankan file coba.php tadi.
Persiapan Database
Kita perlu membuatkan database dan user untuk mengakses database tersebut. Login dulu ke MySQL command prompt
mysql -u root -p
Enter password:
Welcome to the MySQL monitor.  Commands end with ; or \g.
Your MySQL connection id is 4
Server version: 5.7.21-0ubuntu0.16.04.1 (Ubuntu)

Copyright (c) 2000, 2018, Oracle and/or its affiliates. All rights reserved.

Oracle is a registered trademark of Oracle Corporation and/or its
affiliates. Other names may be trademarks of their respective
owners.

Type 'help;' or '\h' for help. Type '\c' to clear the current input statement.

mysql>
Buatkan databasenya
mysql> create database wordpressdb;
Query OK, 1 row affected (0.00 sec)
Lalu kita buatkan usernya
mysql> grant all on wordpressdb.* to wordpressdbuser@localhost identified by 'abCdqwErty2213';
Query OK, 0 rows affected, 1 warning (0.01 sec)
Database sudah siap digunakan.
Instalasi Wordpress
Sebelum mulai menginstall Wordpress, ada beberapa konfigurasi Nginx yang perlu disesuaikan. Edit file /etc/nginx/sites-enabled/wp.artivisi.id dan tambahkan baris berikut
location = /favicon.ico { log_not_found off; access_log off; }
location = /robots.txt { log_not_found off; access_log off; allow all; }
location ~* \.(css|gif|ico|jpeg|jpg|js|png)$ {
    expires max;
    log_not_found off;
}
Kemudian, edit juga blok location / menjadi seperti ini
location / {
    try_files $uri $uri/ /index.php$is_args$args;
}
Jangan lupa restart Nginx agar konfigurasi tersebut diproses.
Selanjutnya, kita unduh aplikasi Wordpress. Taruh saja di folder /tmp
cd /tmp
curl -O https://wordpress.org/latest.tar.gz
Kemudian, kita extract isinya dan pindahkan ke folder virtual host kita
tar xzvf latest.tar.gz
mv wordpress/* /var/www/wp.artivisi.id/html/
Pindah ke folder tersebut, lalu rename contoh file konfigurasi
cd /var/www/wp.artivisi.id/html/
mv wp-config-sample.php wp-config.php
Edit file konfigurasi wp-config.php, isikan informasi koneksi database.
// ** MySQL settings - You can get this info from your web host ** //
/** The name of the database for WordPress */
define('DB_NAME', 'wordpressdb');

/** MySQL database username */
define('DB_USER', 'wordpressdbuser');

/** MySQL database password */
define('DB_PASSWORD', 'abCdqwErty2213');

/** MySQL hostname */
define('DB_HOST', 'localhost');

/** Database Charset to use in creating database tables. */
define('DB_CHARSET', 'utf8');
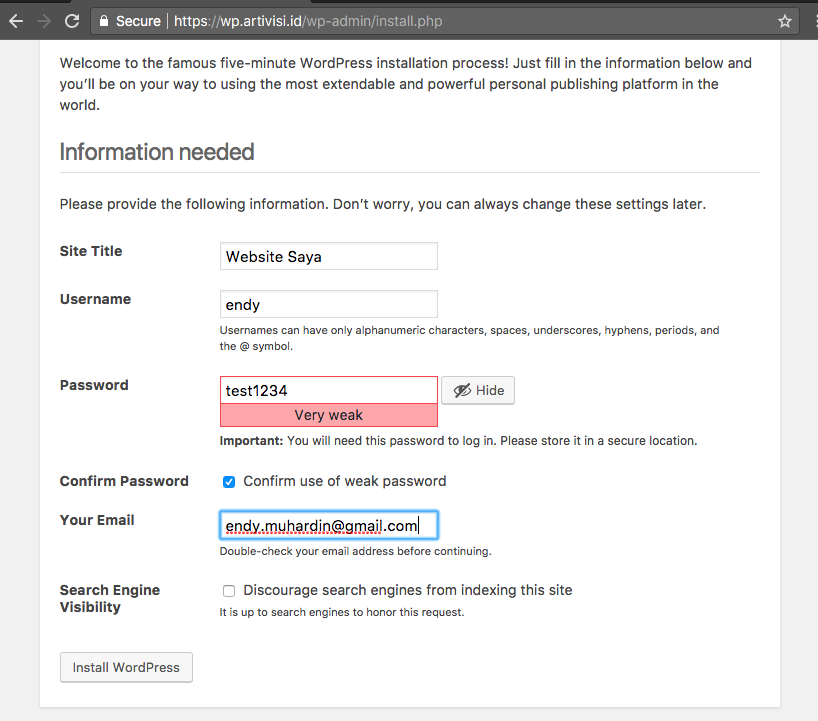
Kalau sudah, kita bisa langsung browse ke https://wp.artivisi.id untuk melanjutkan proses instalasi.
Di sana kita sudah ditunggu oleh layar instalasi. Kita akan diminta memasukkan nama website, username, password, dan email.
Klik Install, dan Wordpress sudah siap digunakan.
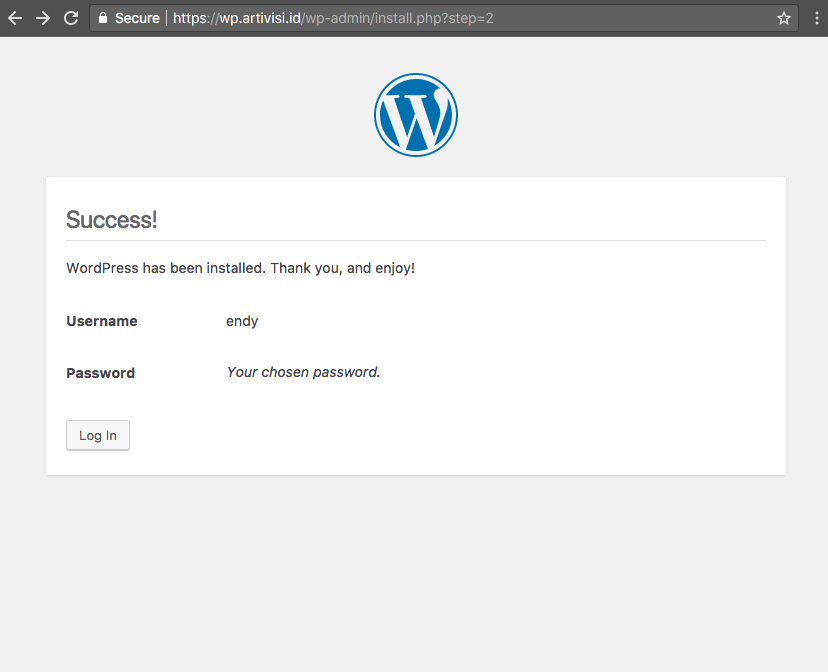
Klik tombol Login
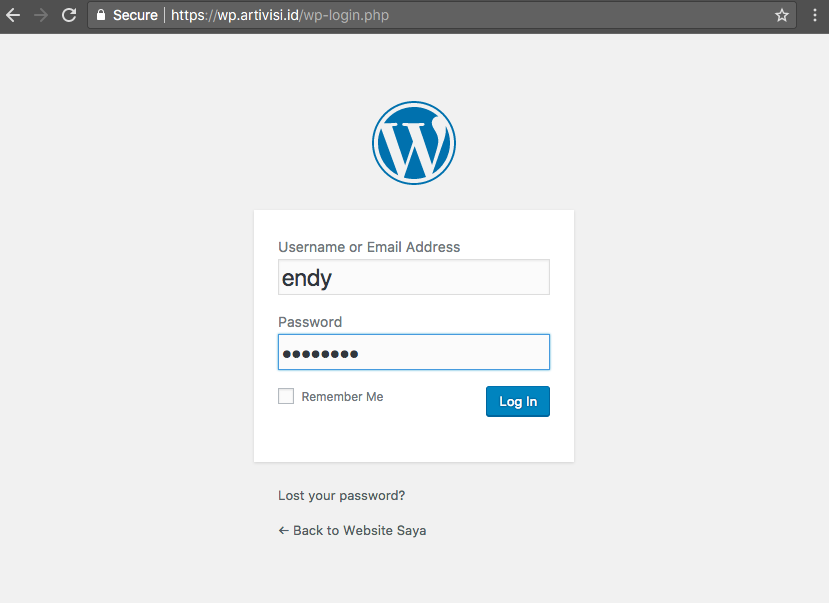
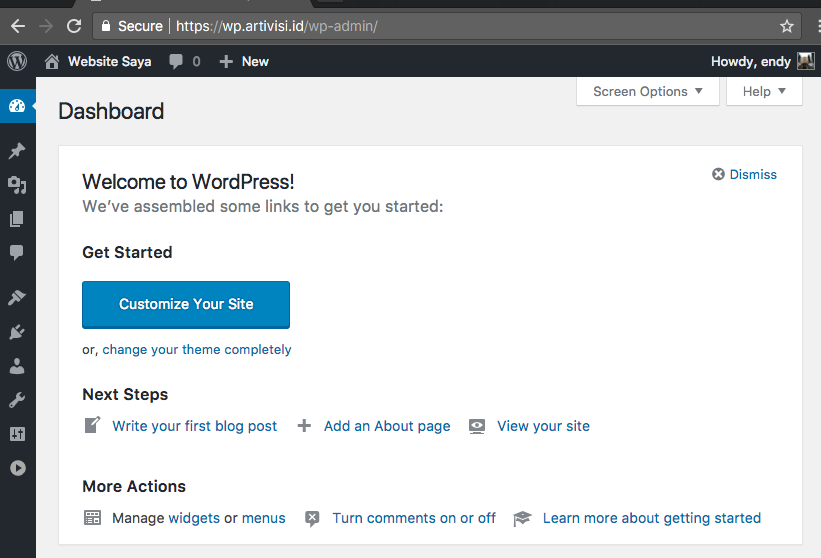
Kita sudah bisa login ke halaman admin
Kita juga bisa langsung melihat halaman depan website kita

Penutup
Sampai di sini, kita sudah bisa menjalankan aplikasi Java dan PHP dalam satu host. Tunggu artikel berikutnya untuk cara menambah aplikasi NodeJS.